The Allure of Chocolate Pretzel Cookies: A Perfect Sweet Treat
There's something uniquely captivating about chocolate pretzel cookies. They effortlessly bridge the gap between classic comfort and playful novelty, making them a perennial favorite for holiday gatherings, special occasions, or simply a delightful everyday treat. Imagine a cookie that combines the rich, deep flavor of chocolate with the tender, melt-in-your-mouth texture of a perfectly baked sugar cookie, all beautifully sculpted into an iconic pretzel shape. Topped with a glistening coarse sugar sprinkle, these cookies aren't just a feast for the taste buds; they're a charming visual spectacle.
Often considered a delightful addition to Christmas cookie platters, the truth is, the charm of these chocolate pretzel cookies transcends any single season. Their comforting flavor profile and unique appearance make them a hit year-round. While the idea of shaping cookies might seem daunting to some, rest assured, the process is surprisingly straightforward, and with our comprehensive guide, you'll be crafting picture-perfect pretzels in no time.
Mastering the Dough: Secrets to Soft & Moist Chocolate Pretzel Cookies
The foundation of an exceptional chocolate pretzel cookie lies in its dough. Achieving that coveted soft, moist, and tender texture is key, and it all begins with the right ingredients and a gentle hand. This recipe leans on the magic of confectioners' sugar, a secret weapon for unparalleled cookie softness.
Key Ingredients and Their Role:
- Confectioners' Sugar: Unlike granulated sugar, confectioners' sugar (powdered sugar) contributes to a finer crumb and a wonderfully soft, almost velvety texture. Its ability to incorporate seamlessly into the butter creates a delicate structure that melts in your mouth.
- Unsalted Butter: The cornerstone of any great cookie, butter provides richness, flavor, and helps achieve that tender crumb. Ensure it's softened to room temperature for optimal creaming.
- Salt: A crucial flavor enhancer, salt balances the sweetness and deepens the chocolate notes.
- Vanilla Extract: Essential for adding warmth and complexity to the chocolate flavor. Opt for pure vanilla extract for the best results.
- Unsweetened Cocoa Powder: This is where the chocolate magic happens! Use a good quality cocoa powder for a rich, authentic chocolate taste. Dutch-processed cocoa can yield a darker color and milder flavor, while natural cocoa provides a slightly fruitier, more intense chocolate punch.
- All-Purpose Flour: Provides the structure for the cookies. Measure it correctly (preferably by weight) to avoid a tough or crumbly dough.
Crafting the Perfect Dough:
The process is quite intuitive. You'll start by creaming together the confectioners' sugar, softened butter, salt, and vanilla extract in a large bowl. This step is vital; continue beating until the mixture is light and fluffy. This incorporates air, which contributes to the cookie's tender texture. Next, gradually incorporate the cocoa powder and flour. Mix on low speed until the ingredients are just combined and a cohesive dough forms. Avoid overmixing, as this can develop the gluten in the flour, leading to a tougher cookie. The dough should be soft, pliable, and easy to handle without being overly sticky.
Step-by-Step Shaping Guide: Crafting Perfect Pretzel Cookies
This is where the fun truly begins! Transforming simple dough into an recognizable pretzel shape is a rewarding process, and with a little practice, you'll become a pretzel-shaping pro. The beauty of this recipe is that the dough is very forgiving, making it ideal for even novice bakers.
Preparing Your Workspace:
Lightly flour your work surface. This prevents the dough from sticking and makes rolling much easier. Have a baking sheet lined with parchment paper ready.
The Shaping Process:
- Portion the Dough: Break off a piece of dough approximately the size of a ping-pong ball (about 1 ounce). For consistency, you can use a kitchen scale. It's often helpful to portion all your dough pieces first, so they're ready for shaping in a production line fashion.
- Roll into a Rope: On your lightly floured surface, use the palms of your hands to gently roll the dough piece into a long, thin rope, about 10-12 inches in length and roughly 1/4-inch thick. Aim for even thickness throughout the rope to ensure uniform baking.
- Form the "U": Carefully lift the dough rope and form it into a loose "U" shape on your work surface.
- First Cross-Over: Take one end of the "U" and cross it over the other end, creating a large, open loop. Think of it like you're starting to tie a shoelace or a bow.
- Second Cross-Over: Bring the same end (or the other, as long as you're consistent) and cross it over again, slightly tighter than the first time. This creates the classic pretzel knot.
- Flip and Press: Now, take both ends of the dough and gently flip them down, pressing them lightly onto the bottom curve of the pretzel. This secures the shape. Be gentle but firm enough to ensure they stay in place during baking.
- Adjust and Place: Lightly adjust the pretzel shape to your liking, ensuring the loops are nicely formed. Transfer the shaped pretzel onto your prepared baking sheet. Leave about an inch or two between each cookie to allow for slight spreading.
Tips for Success:
- Consistent Thickness: The key to even baking is uniformly thick ropes. If some parts are thinner, they'll crisp up faster than the thicker sections.
- Gentle Handling: The dough is pliable, but avoid pulling or stretching it too aggressively, which can cause it to break.
- If Dough Becomes Sticky: If your dough starts to get too warm or sticky, pop it back into the fridge for 10-15 minutes to firm up. A little extra flour on your hands or surface can also help.
The Finishing Touch: Glaze, Garnish, and Baking Perfection
Once your beautiful pretzel shapes are ready, a few final steps elevate them from simple chocolate cookies to irresistible chocolate pretzel cookies.
The Egg White Glaze:
This simple glaze is not just for shine; it's essential for ensuring that delightful coarse sugar adheres beautifully to your cookies. In a small bowl, whisk together one large egg white with 1 tablespoon of water until lightly frothy. Using a pastry brush, gently brush this glaze over the top of each shaped pretzel. Don't overdo it – a thin, even coat is all you need.
The Coarse Sugar Sprinkle:
After glazing, generously sprinkle coarse sugar (also known as turbinado sugar or sanding sugar) over each cookie. The coarse sugar adds a lovely sparkle, a satisfying textural crunch, and an extra layer of sweetness that perfectly complements the rich chocolate base. It also gives the cookies that signature "pretzel" look.
Baking for Perfection:
Bake your chocolate pretzel cookies in a preheated oven for approximately 14-16 minutes. Baking times can vary slightly depending on your oven, so keep an eye on them. You're looking for cookies that appear set and are just starting to firm up. They might seem slightly soft when they first come out of the oven, but don't be tempted to bake them longer! They will continue to set and firm up significantly as they cool.
Cooling and Storage:
Allow the cookies to cool on the baking sheet for about 10-15 minutes before transferring them to a wire rack to cool completely. This crucial resting period allows them to fully set without breaking. Once completely cool, store your chocolate pretzel cookies in an airtight container at room temperature for up to a week. They also freeze beautifully for longer storage.
Beyond the Basic: Creative Variations and Serving Suggestions
While the classic chocolate pretzel cookie is a masterpiece in itself, there are endless possibilities to customize and enjoy them.
- Vanilla Pretzel Cookies: Want a different flavor profile? Simply adapt your favorite traditional vanilla sugar cookie dough recipe and follow the same shaping, glazing, and sugaring steps. You'll have beautiful vanilla pretzels!
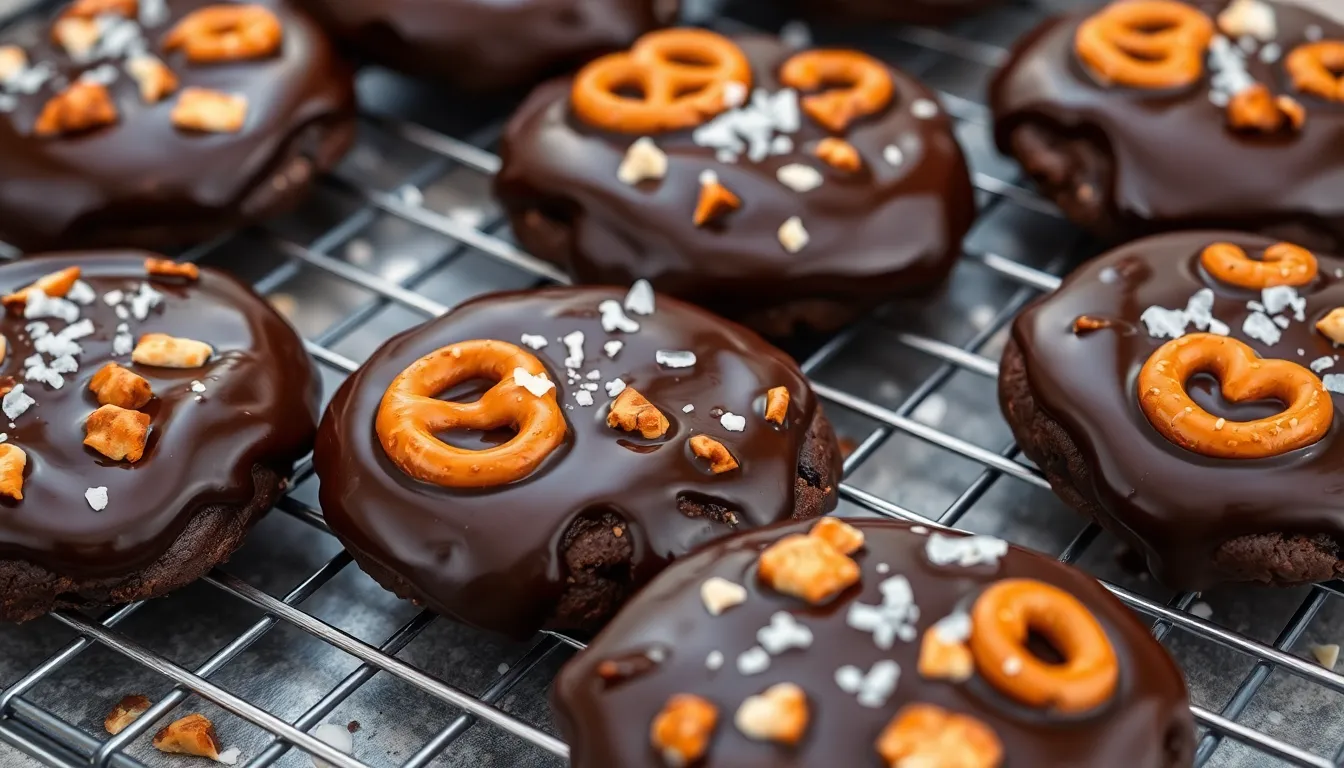
- Salty-Sweet Twist: For those who truly crave the ultimate salty-sweet experience, consider incorporating crushed pretzels directly into the dough or pressing them gently onto the glazed cookies before baking. If this sounds like your perfect treat, you might also love exploring Salty Sweet Chocolate Chip Pretzel Cookies with Crunchy Bites, which amplify this delightful combination.
- Dipping & Drizzling: After baking and cooling, dip half of your cookies in melted white chocolate, milk chocolate, or dark chocolate, then sprinkle with extra coarse sugar, sprinkles, or more crushed pretzels. A simple drizzle of contrasting chocolate can also add an elegant touch.
- Holiday Variations: For different seasons, experiment with colored sanding sugars. Red and green for Christmas, pastels for Easter, or orange and black for Halloween.
These chocolate pretzel cookies are incredibly versatile. They make fantastic edible gifts, delightful additions to any dessert table, or a comforting companion to a cup of coffee or a glass of milk. Whether you choose to devour them all yourself (we won't judge!) or share them generously, they are sure to bring joy with every soft, chocolatey bite.
Conclusion
Making chocolate pretzel cookies is a truly rewarding experience, offering a delightful combination of rich chocolate flavor, tender texture, and a charming, iconic shape. With this comprehensive guide, including detailed instructions for crafting the perfect pretzel shape, you're well-equipped to create a batch of these irresistible treats. From the careful creaming of the dough to the satisfying crunch of coarse sugar, every step contributes to a cookie that is as much a pleasure to behold as it is to eat. So gather your ingredients, embrace the simple artistry of cookie shaping, and prepare to indulge in some of the most delicious and visually appealing cookies you've ever made. Happy baking!
